Refine Your Streaming Skills on Open Broadcaster Software (OBS) Studio for the Best Presentation Possible
Updated: simplified the process to no longer need FFmpeg
Open Broadcaster Software (OBS) Studio is one of the most popular software solutions for streamers. With the significant rise in online presentations and virtual meetings, many have begun using OBS coupled with FFmpeg for their various streaming presentations. OBS is an excellent setup for screen sharing and streaming video.

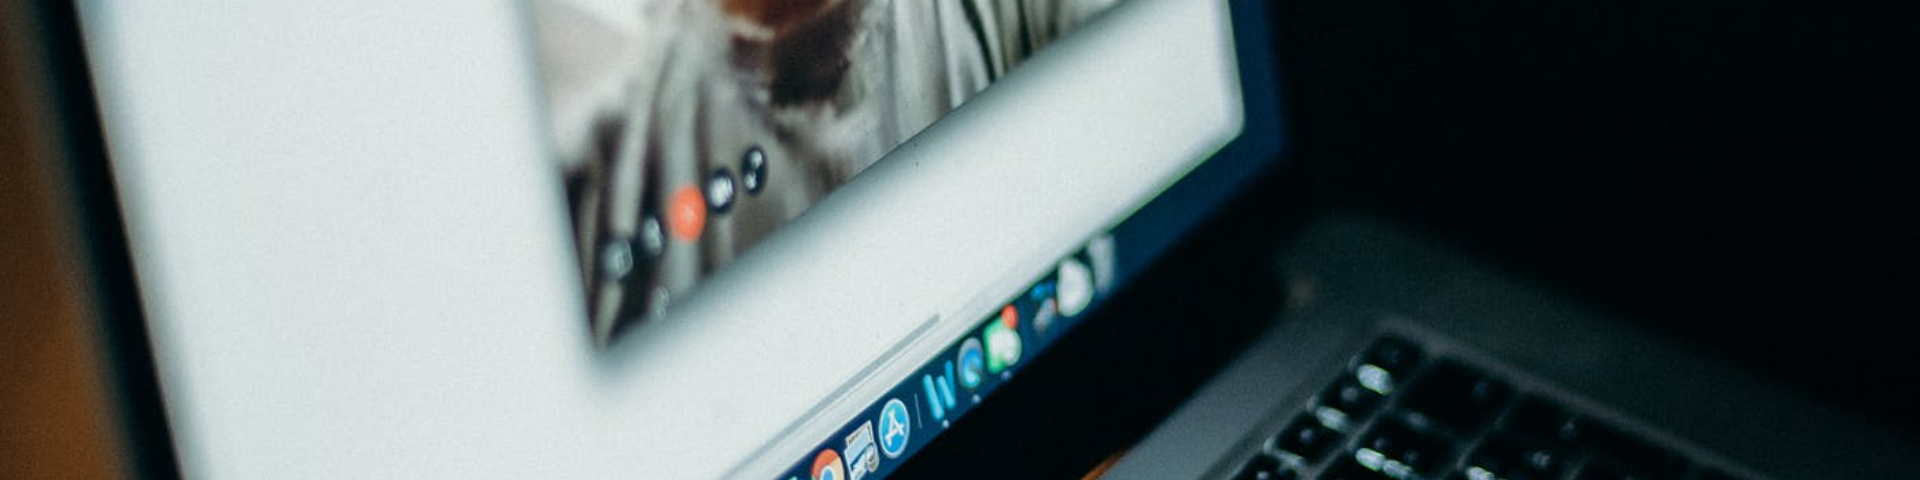
Here’s what my finished product looks like. I focus on technical streams and am often live-coding, but this setup works for any type of content.
The trouble is, OBS is a streaming and recording program and isn’t considered a major communication platform. Many events and venues utilize products that their coordinators already are familiar with and consider convenient, such as Microsoft Teams.
These platforms are great but rarely do they provide the same advanced capabilities as OBS for configuring how you share your video content. Although it is possible to share your OBS content through a virtual webcam, this can cause poor quality, as screen sharing will often receive prioritization rather than the webcam.
In this tutorial, I walk through how I share my content leveraging OBS’s power for online presentations in things like Microsoft Teams while maintaining the quality of screen sharing.
Before anything else, it is important to note that OBS will run on multiple platforms; however, some platforms may require additional setup. Please refer to your platform’s installation instructions.
This tutorial also assumes that you are using a single computer (ideally with more than one screen) and are looking for a free solution.
Installing and Setting Up OBS Studio
If you are unfamiliar with the installation process, this tutorial can guide you through setting up your initial screens and input sources. In addition, there is a multitude of other great resources online for learning the ins and outs of OBS and its many features. I am using OBS Studio version 26.0.2. For now, we will go with a very basic setup that involves sharing our desktop as well as our web camera.
Using the plus (+) button on “Scenes and Sources” will create a single scene named “MyScene” with two input sources. The first input uses “Display Capture” to capture the screen you wish to share. The second source uses the “Video Capture Device” input to bring in your web camera.
You must position the camera source above the display capture source. This location ensures that the camera’s input is always above the desktop display. Also, you need to confirm that the little eyeball icon shows the source as enabled.
Now you can move the sources around, change sizes, and crop (hold down Alt while resizing) to get the layout exactly as you wish. Once you are happy with it, I recommend clicking the Lock button to the right of each source to prevent accidental changes.
The final result should look similar to this:

Next, go to Settings (lower right-hand corner of the OBA window or under the File menu at the top of your screen). Select Video and set both the Base and Output Resolution to be 1920×1080.

Maintaining Control of Camera Input Priority
For this next step, I recommend working on a separate desktop. Between OBS and the content you are presenting, it’s entirely possible you may quickly run out of screen real estate. To avoid this, we will use an OBS projector window to host our OBS content and then share that window. Since we won’t need to see or interact with this projector window, we will move it to its own desktop. This way, it will get all the benefits of being treated like a screen-share (or window-share in this case), and we can use OBS to manage its contents. You will need to share the projector window in Teams before moving it to a separate desktop, or it will not appear in the list of sharable windows.
OBS Projector
Built into OBS is the ability to contain your output within a window called a projector. To access it, right-click anywhere in the preview area and select Windows Project (Preview).

If you created a separate desktop to hold this widow, go ahead and move it there now (Win+Tab then drag the window to the other desktop). Alternatively, if you have multiple screens, you can move the window off to a screen that will not be shared. The controls from the projector window can be accessed by right-clicking anywhere on the projector window (the “fit window to content” option is not available if the window is maximized).

Once you have the window on the appropriate desktop, right-click, select the Fullscreen option, then select the appropriate monitor. Back inside of Microsoft Teams, you can now screen share and select the OBS projector window as the window that you would like to share.
That’s all there is to it. You can now control the shared content with all of the power of OBS.
You’re Ready for Online Streaming
There you have it. With a little bit of configuration, we can share our OBS-powered content as a screen share rather than a typical web camera. This change allows for a considerable amount of freedom and configuration to do great online presentations.
Ready for the next step? Check out my blog, Mastering Virtual Greenscreen with OBS and Microsoft Teams.
What content will you share?
Want Some Final Tips and Tricks?
Check out my personal notes on presenting and streaming.

Does Your Organization Need a Custom Solution?
Let’s chat about how we can help you achieve excellence on your next project!